Are you running a business and want to get domain and cloud
hosting for your brand website? Then Inspedium Cloud is best for you. Inspedium
Cloud provides safe and reliable cloud hosting services in over 25+ global locations.
This knowledgebase blog will explain to you how to sign-up on Inspedium Cloud.
We will highlight all the features and unique tools, which Inspedium Cloud offers. Initially, let’s start with the basic understanding and knowing what makes Inspedium Cloud unique, as compared to other cloud hosting service-providing companies.
If you are looking for better performance of your website and
maximize the web applications. Then Inspedium Cloud is a secure and reliable
cloud web hosting service provider. You can get a holistic experience as
compared to other cloud hosting service providers around the world. The
below-mentioned are some of the key features which are core reason of why you
should choose Inspedium Cloud for your business website:
Step 1: Go to Inspedium Cloud Login Page
Simply you have to search the URL: www.inspedium.cloud
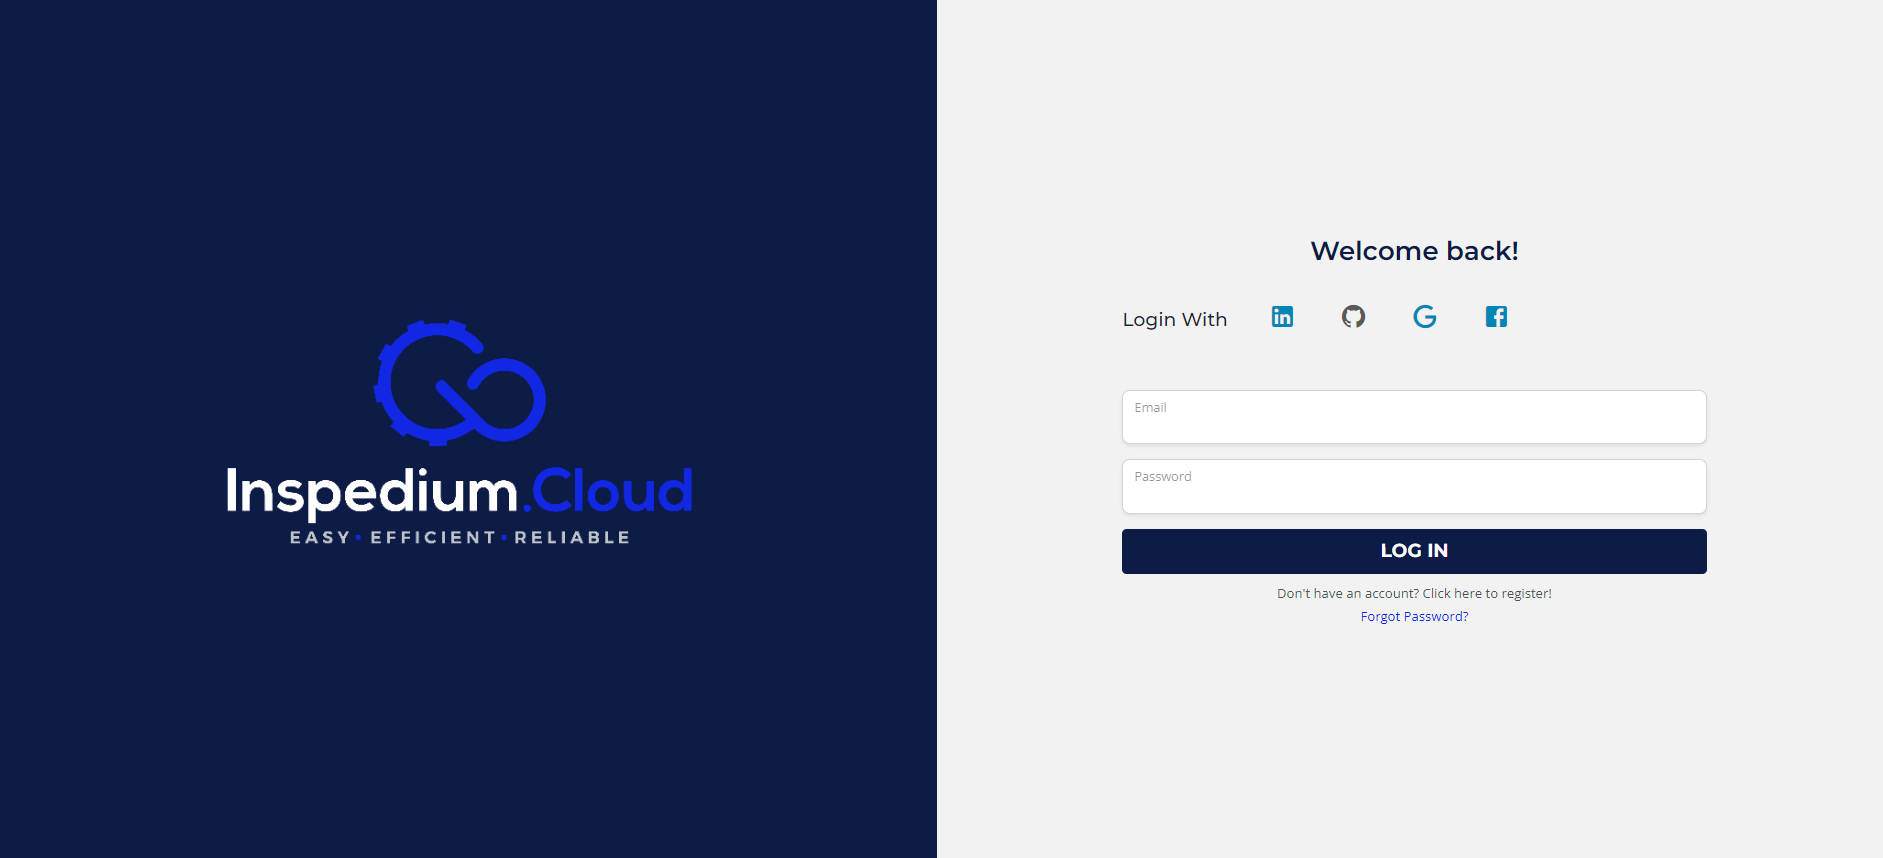
Once you land on the website, you will see Inspedium Cloud Home Page as you can see below:

You will have multiple options to sign-up or log in to your Inspedium Cloud account from, such as LinkedIn, Google, Facebook, or simply by your email address. Once you enter the email address and password, you can log in to the account. (As mentioned below).

Now, after you successfully log in to the Inspedium Cloud
Dashboard. You will see ‘Deploy Your Managed Application’ as mentioned in the
screenshot picture below:
As you can see now, that > Deploy Your Managed Application
section appears on the screen. Once it appears, in order to proceed forward you
will have to enter the below-mentioned application and server details:

(As mentioned above)
After entering the details, you can now proceed forward, as you can see below that the payable amount of the subscription is $34.84 for 27 days (VPS). However, the payable amount from the second month and onwards will be $40.00. If you agree with the payable amount, then you can proceed further and click on > Launch Now. Otherwise, if you are not willing to continue with the package due to any reason, then you can click > Cancel.

> Enter Domain Name and click on > Search
You can choose from the below-mentioned three options:

If you want to register a new domain website, you can simply do it
with Inspedium Cloud. It will add professional credibility to your company. You
can search and register the domain as per your choice; however, it entirely
depends on its availability.
If you want to transfer your current domain to Inspedium Cloud. We
offer transferring domain services as well. From your current domain provider
we will transfer your domain to our cloud server. In this way you will be able
to cater the primary focus of your website, which is security. Furthermore, it
will improve the user experience. To know about tips and tricks about transferring you hosting service from your current hosting provider in our Knowledgebase section.
If you want to use the existing domain, which you have for your business
and just, want to transfer your hosting services. Then, we have that option for
you as well. It does not only saves your time but it becomes very cost saving
for your business as well. The choice of choosing the domain, completely
depends on you.
In the review and checkout section, you can review the entire details like domain name, duration, domain price, platform, Class, and Server Name Location along with the cloud hosting server charges as mentioned below:

Once, you are ready to go ahead with the total payable amount (For
example; $25.89). So, then click > Place order
After this step the total payable amount receipt will appear on
the screen as mentioned below:
You will have to enter the below-mentioned bank details in this section:
After entering the correct bank details in this section you can
click on > Pay now
Once your payment is confirmed, you will receive a notification on the main screen.

Account Created
Your account has been
successfully created. To learn and find out more regarding the features and
offerings of Inspedium Cloud you log in with your account credentials by simply
searching: https://my.inspedium.cloud/
and login our Inspedium Cloud Knowledgebase section.